Installing boot9strap (super-skaterhax)
Technical Details (optional)
For technical details on the exploits that you will be using on this page, see here.
Compatibility Notes
Super-skaterhax (when used to launch the Homebrew Launcher) is compatible with New models on version 11.15.0 and above in all regions.
INFO
This exploit is known to be inconsistent: it works for some people, but not others. If you prefer to use a more consistent exploit (which may take longer, but will have the same end result), follow MSET9 instead.
What You Need
- The Super-skaterhax
.zipfor your console's region and system version
Section I - Prep Work
In this section, you will copy the files needed to trigger both super-skaterhax and the Homebrew Launcher.
Power off your console
Insert your SD card into your computer
Copy everything from the Super-skaterhax
.zipto the root of your SD card. If any of the files exist, overwrite them with the new files.INFO
Reinsert your SD card into your console
Power on your console
Launch System Settings
Select "Other Settings"
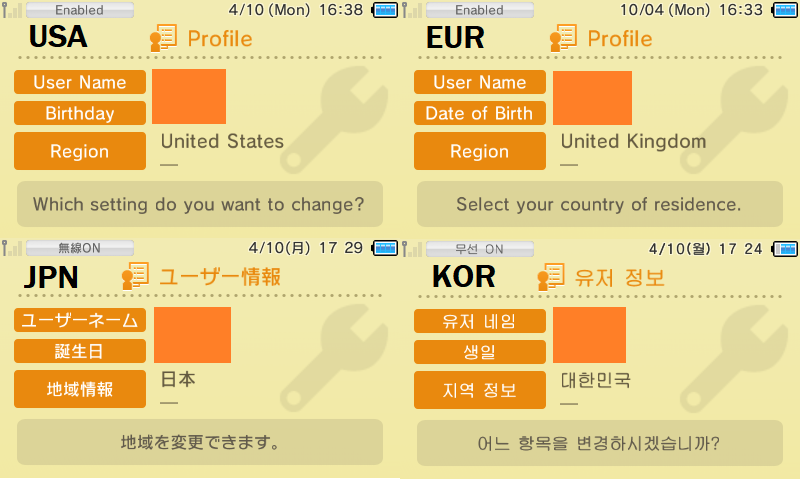
Navigate to "Profile" -> "Region Settings"
- These settings will be temporarily changed to increase the success rate of the exploit
- You can restore your region settings back to normal once you have finished this page
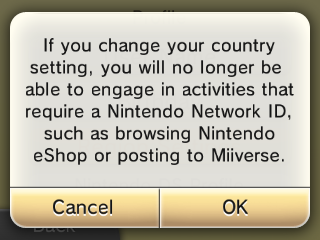
- If you get a warning that says you will lose access to Nintendo Network ID features, you can safely select OK to continue
Select the following options according to your console's region (image)
- USA: First select United States, then select Do Not Set
- EUR: First select United Kingdom, then select Do Not Set
- JPN: First select 日本, then select 設定しない
- KOR: First select 대한민국, then select 설정하지 않음
Navigate to "Date & Time"
Set "Today's Date" and "Current Time" to the current date and time
Exit System Settings
Section II - super-skaterhax
In this section, you will visit the browser exploit webpage, which will launch the Homebrew Launcher.
INFO
A video detailing these steps is available here.
- Open the Internet Browser
- Tap the 3-line (☰) icon on the bottom-right corner of the screen
- Tap
Settings-> scroll down ->Reset Save Data->Clear All->Clear->OK- The browser will close
- Reopen the Internet Browser
- Tap
Next->Google->OK->OK - Tap on the address bar at the top of the bottom screen
- Enter the URL corresponding to your console's region:
- USA/EUR/JPN:
https://skater.686178.xyz/go/super - KOR:
https://skater.686178.xyz/go/korea
- USA/EUR/JPN:
- Tap "Open"
- You should see the text "GO GO!". Do not click on it yet
- Tap the 3-line (☰) icon on the bottom-right corner of the screen
- Tap on "Add to Bookmarks"
- Tap the 3-line (☰) icon on the bottom-right corner of the screen
- Tap on
Settings->Delete Cookies->Yes - Press (Home) to return to the HOME Menu, then immediately reopen the Internet Browser
- Wait for the page to fully load, then tap the "GO GO!" button on the top of the bottom screen
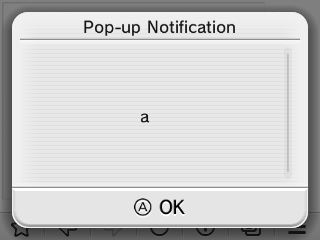
- Wait for the page to fully load, then press (A) to dismiss the popup
- If your console displays:
- "The Homebrew Launcher" screen: Continue to the next step
- A white "Error has occurred" message box: The exploit failed due to random chance. Open System Settings, change the language to a different one (if possible), then retry this section. You may have to repeat this sequence up to ten times
- On JPN/KOR region consoles, there is only one language setting. On those consoles, you should open System Settings, close it, then retry this section
- If the exploit is still unsuccessful after five attempts, there may be a problem with your files or prep work. Ensure that region and date/time are correct, and that you have been following this section exactly. If you used WinRAR to extract files to the SD card, re-extract the files using File Explorer or 7-zip instead
- If the exploit is still unsuccessful after ten attempts, follow MSET9 instead
- A black screen that says "An error has occurred": Your file placement is incorrect. Ensure that the super-skaterhax files are on the root of the SD card
- A yellow screen: Homebrew Launcher failed to open due to random chance. Hold the POWER button until the console turns off, then retry this section
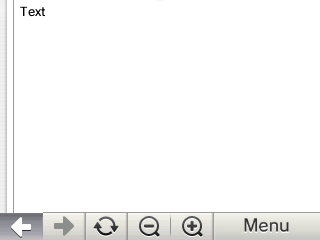
- The word "Text": You have an Old 3DS, where this exploit does not work. If this is the case, you should follow MSET9 instead
- Launch nimdsphax from the list of homebrew
- If the exploit was successful, you will have booted into SafeB9SInstaller
- If your console freezes on a red or green screen, hold the POWER button until it turns off, then retry this section
Section III - Installing boot9strap
In this section, you will install custom firmware onto your console.
- When prompted, input the key combo given on the top screen to install boot9strap
- If a step on the lower screen has red-colored text, and you are not prompted to input a key combo, follow this troubleshooting guide
- Once it is complete, press (A) to reboot your console
- Your console should have booted into the Luma3DS configuration menu
- Luma3DS configuration menu are settings for the Luma3DS custom firmware. Many of these settings may be useful for customization or debugging
- For the purpose of this guide, leave these options on the default settings (do not check or uncheck anything)
- If your console displays a white notification LED and shuts down when you try to power it on, ensure that you have Luma3DS's
boot.firmon the root of SD card (insideLuma3DSvX.X.X.zip)
- Press (Start) to save and reboot
At this point, your console will boot to Luma3DS by default.
- Luma3DS does not look any different from the normal HOME Menu. If your console has booted into the HOME Menu, it is running custom firmware.
- On the next page, you will install useful homebrew applications to complete your setup.
INFO
You may now restore your region settings back to normal.
TIP
Continue to Finalizing Setup