Get Started
Before starting this guide, we will see if custom firmware is already installed and check the current system version of your console.
Section I - CFW Check
- Power off your console
- Insert your SD card into your console
- Hold the (Select) button
- Power on your console while still holding the (Select) button
- If you do not see a custom menu (your console just boots to the HOME Menu), you may proceed to the next section
WARNING
If you see the Luma3DS configuration screen or any other custom menu (e.g. GodMode9, Decrypt9WIP), STOP - you already have custom firmware! Continue from here.
WARNING
If, when the console boots to the HOME Menu, you see the error "Could not detect an SD card", ensure that your SD card is properly formatted: Windows, macOS, Linux
Section II - System Version Check
- Launch System Settings on your console
- Your system version will be displayed on the bottom right of the top screen (e.g. "Ver. 11.17.0-50U")
Section III - Select a Method
To find the correct method for your console, please select the model of your console and the system version you found in Section II.
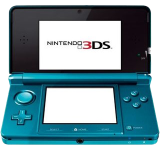
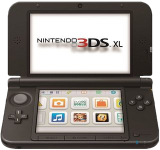
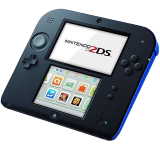
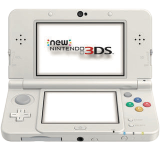
Old 3DS/2DS | New 3DS/2DS |
|---|---|
   |    |
..-
Alternate Methods
If possible, you should follow the method given by the prompt above.
Otherwise, methods that work on all versions are available, but require additional hardware:
- ntrboot - requires compatible DS flashcart
- Installing boot9strap (Hardmod) - requires soldering