Restoring / Updating CFW
Required Reading
This page prepares consoles with an existing modern boot9strap installation for reinstallation and/or updating of custom firmware applications. It can also be used in the event of a lost or corrupted SD card.
Your SD card must be formatted as FAT32 to follow this guide, or else the 3DS will be unable to recognize it. If your SD card is not yet properly formatted, use one of these pages to format it, depending on your operating system: Windows, Mac, Linux.
What You Need
- The latest release of Luma3DS (the Luma3DS
.zipfile)
Instructions
- Insert your SD card into your computer
- Copy everything from the Luma3DS
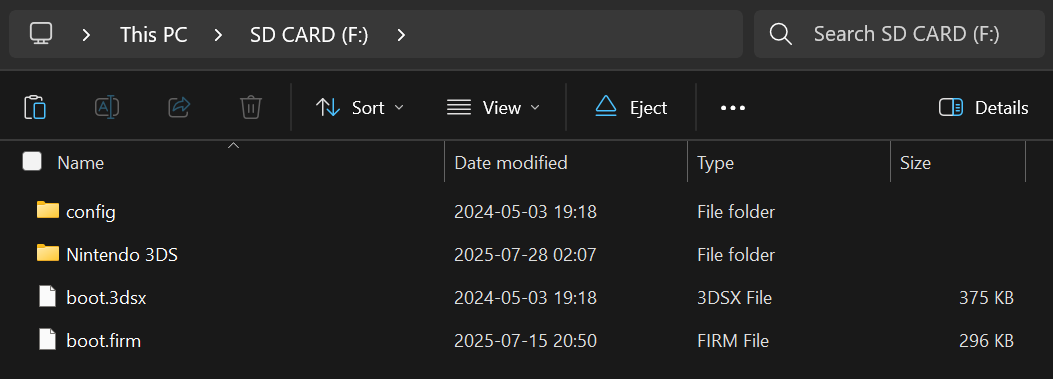
.zip(boot.firm,boot.3dsx, andconfig) to the root of your SD card. If any of the files exist, overwrite them with the new files.- The root of the SD card refers to the initial directory on your SD card where you can see the Nintendo 3DS folder, but are not inside of it
- Reinsert your SD card into your console
- Power on your console
- If you see the Luma3DS configuration menu, press (Start) to save and reboot
INFO
INFO
The latest version of Luma3DS has now been installed on your SD card and on internal memory.
TIP
Continue to Finalizing Setup to install or update homebrew applications (e.g. FBI, Homebrew Launcher).