Installing boot9strap (ntrboot)
Required Reading
To use the magnet links on this page, you will need a torrent client like qBittorrent or Deluge.
What You Need
- A magnet that triggers the sleep mode of your console (if using a folding style console)
- Your ntrboot flashed flashcart
- The latest release of SafeB9SInstaller (direct download)
- The latest release of boot9strap (direct download)
- The latest release of Luma3DS (the Luma3DS
.zipfile)
Instructions
Section I - Prep Work
Power off your console
Insert your console's SD card into your computer
- This is the SD card from your 3DS, not the SD card from your flashcart
Copy
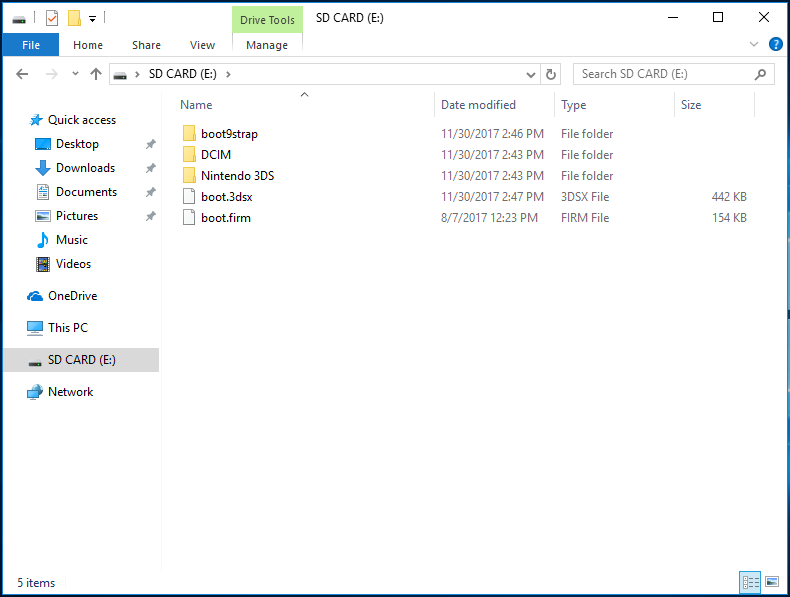
SafeB9SInstaller.firmfrom the SafeB9SInstaller.zipto the root of your SD card and rename it toboot.firm- The root of the SD card refers to the initial directory on your SD card where you can see the Nintendo 3DS folder, but are not inside of it
Create a folder named
boot9strapon the root of your console's SD cardCopy
boot9strap.firmandboot9strap.firm.shafrom the boot9strap.zipto the/boot9strap/folder on your console's SD cardINFO
Reinsert your SD card into your console
Power on your console
Section II - ntrboot
- Use the magnet to find the spot on your console where the sleep sensor is triggered
- This step is not needed on the old 2DS (which has a sleep mode switch)
- Power off your console
- Insert your flashcart into your console
- Place the magnet on your console to trigger the sleep sensor
- On old 2DS, you should instead enable the sleep mode switch
- Hold (Start) + (Select) + (X) + (Power) for several seconds, then release the buttons
- It may take a few attempts to get this to work because the positioning is awkward
- If the exploit was successful, you will have booted into SafeB9SInstaller
- Remove the magnet from your console
- On old 2DS, you should instead disable the sleep mode switch
Section III - Installing boot9strap
In this section, you will install custom firmware onto your console.
- When prompted, input the key combo given on the top screen to install boot9strap
- If a step on the lower screen has red-colored text, and you are not prompted to input a key combo, follow this troubleshooting guide
- Once it is completed, force your console to power off by holding down the power button
- Your console will only boot to the SafeB9SInstaller screen until the next section is completed
Section IV - Configuring Luma3DS
- Insert your console's SD card into your computer
- Delete
boot.firmfrom the root of your SD card - Copy everything from the Luma3DS
.zipto the root of your SD card - Reinsert your SD card into your console
- Power on your console
- Your console should have booted into the Luma3DS configuration menu
- Luma3DS configuration menu are settings for the Luma3DS custom firmware. Many of these settings may be useful for customization or debugging
- For the purpose of this guide, leave these options on the default settings (do not check or uncheck anything)
- If your console displays a white notification LED and shuts down when you try to power it on, ensure that you have Luma3DS's
boot.firmon the root of SD card (insideLuma3DSvX.X.X.zip)
- Press (Start) to save and reboot
At this point, your console will boot to Luma3DS by default.
- Luma3DS does not look any different from the normal HOME Menu. If your console has booted into the HOME Menu, it is running custom firmware.
- On the next page, you will install useful homebrew applications to complete your setup.
TIP
Continue to Finalizing Setup
The following is an optional section that will allow you to restore your flashcart to its original state (to allow it to be used for its standard functions).
Note that the Acekard 2i retains its ability to launch .nds files while having the ntrboot exploit installed. This only applies when the Acekard 2i is in an NDS or custom firmware 3DS! While the ntrboot exploit is installed to the Acekard 2i, it will be unable to launch .nds files on DSi or stock 3DS systems.
Do not follow this section until you have completed the rest of the instructions on this page.
Section V - Removing ntrboot
What You Need
- The latest release of ntrboot_flasher (
ntrboot_flasher.firm) - The flashrom backup corresponding to your flashcart
- Note that if you followed Flashing ntrboot (3DS Multi System), the flashrom backup already exists in the correct location and does not need to be downloaded
- Note that if you followed Flashing ntrboot (3DS Single System) or Flashing ntrboot (NDS), the flashrom backup already exists on your flashcart's SD card and should be copied to the location specified below
- If you do not know which HW revision you have, just try each for your cart of them. Only the correct one will allow your flashcart to launch properly from the HOME Menu, but flashing the wrong one will not brick the cart
| Flashcart | Hardware Revision | Flashrom |
|---|---|---|
| Ace3DS X | N/A | |
| Acekard 2i | HW 81 | - Acekard_2i_(HW_81)-Flashrom.zip |
| Acekard 2i | HW 44 | - Acekard_2i_(HW_44)-Flashrom.zip |
| DSTT | Missing | |
| Infinity 3 R4i | HW A5 | - R4i_Gold_3DS_(HW_A5)-Flashrom.zip |
| R4 3D Revolution | HW A6 | - R4i_Gold_3DS_(HW_A6)-Flashrom.zip |
| R4i Gold 3DS Deluxe "Starter" | Missing | |
| R4i Gold 3DS | HW 4 | - R4i_Gold_3DS_(HW_4)-Flashrom.zip |
| R4i Gold 3DS | HW 5 | Missing |
| R4i Gold 3DS | HW 6 | Missing |
| R4i Gold 3DS | HW 7 | Missing |
| R4i Gold 3DS | HW 8 | - R4i_Gold_3DS_(HW_8)-Flashrom.zip |
| R4i Gold 3DS | HW D | - R4i_Gold_3DS_(HW_D)-Flashrom.zip |
| R4i Gold 3DS Plus | N/A | |
| R4i Gold 3DS RTS | HW A5 | - R4i_Gold_3DS_(HW_A5)-Flashrom.zip |
| R4i Gold 3DS RTS | HW A6 | - R4i_Gold_3DS_(HW_A6)-Flashrom.zip |
| R4i Gold 3DS RTS | HW A7 | - R4i_Gold_3DS_(HW_A7)-Flashrom.zip |
| R4i Ultra | - R4i_Ultra-Flashrom.zip | |
| R4i-SDHC 3DS RTS | - R4i-SDHC_3DS_RTS_B9S-Flashrom.zip | |
| R4i-SDHC B9S | - R4i-SDHC_3DS_RTS_B9S-Flashrom.zip | |
| R4iSDHC GOLD Pro 20XX from r4isdhc .com | - R4iSDHC.com_20XX-Flashrom.zip | |
| R4iSDHC RTS LITE 20XX from r4isdhc .com | - R4iSDHC.com_20XX-Flashrom.zip | |
| R4iSDHC Dual-Core 20XX from r4isdhc .com | - R4iSDHC.com_20XX-Flashrom.zip |
Instructions
- Power off your console
- Insert your SD card into your computer
- This is the SD card from your 3DS, not the SD card from your flashcart
- Create a folder named
ntrbooton the root of your SD card - Copy the
.binfile from your flashrom backup.zipto the/ntrboot/folder on the root of your SD card - Create a folder named
payloadsin thelumafolder on your SD card - Copy
ntrboot_flasher.firmto the/luma/payloads/folder on your SD card - Reinsert your SD card into your console
- Insert your ntrboot compatible DS / DSi flashcart into your console
- Launch ntrboot_flasher by holding (Start) during boot
- Read the red screen warning
- Press (A) to continue
- Select your flashcart
- If you do not see your flashcart in the list at the top, read the bottom screen for more info on each option
- Select "Restore Flash"
- Press (A) to proceed
- Wait until the process is completed
- Press (A) to return to the main menu
- Press (B) to power off your console